

Yes, 13 dollars! Our house has a family room and a living room. We only had one couch, and having a second was a want, not a need. Before we moved I had been watching craigslist for an old couch for the family room, but a week after we moved in, we lost the renters on our house back in Arkansas. We certainly didn’t have money for even a used couch then, but I happened across this listing on Freecycle:
White Sofa- Its a nice sofa. However being that it is white it needs a sofa cover.
So begins the debate in my mind. Couch covers can be upwards from $100. Could we drape a blanket over it? Maybe it’s not that bad. I could use oxyclean. Maybe I could cover it with some 50% off material from Hobby Lobby. Hmm. I should just check it out. I e-mailed and it was still available. The lady assured me it was from a pet free and smoke free home. We picked it up that night. She was honest, it needed a cover but was a great couch. I tried to use oxyclean. The cushion covers brightened up, but it only accented the stains more. I didn’t even try it on the body of the couch. I really wanted to go buy a slip cover, but they were just too expensive, especially given our double mortgage situation. While I was trying to find a blanket or sheet to cover the bulk of the couch while we waited on our old house to get rented out again, I thought about the sheet set that was left by the previous owners. The sheets had some maroon that matched our curtains in the family room quite nicely. I thought “I can do this” So began my project to recover my free couch with a sheet set.
 |
||||
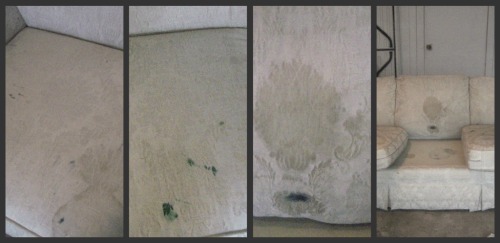
| These pictures are just scratching the surface of how stained this couch is. |
 |
| The sheet set I used to reupholster our couch. |
Here’s how I did it:
Step One
Choose your sheets. I’d highly recommend not using stripes for obvious reasons, but it can be done.  I used a queen set, and this is a big couch. A king set would have given me a bit more to work with though.
Step Two
Remove Cushion Covers and measure each panel. Draw the measurements on a small diagram. My cushions measured 24×24 on the top and bottom with side panels of
24×7. You want to add an extra half inch on all sides to allow for
seams. I needed 5 yards of material to make my cushion covers.
Step Three
Drape the Flat Sheet over the back of the couch and tuck in as
many places as possible. Leave it for a few days to make sure you like
it.
Step 4
Take a pillow case with you to the fabric store and find a complimentary
color to use for your cushions (or buy an extra flat sheet if you
purchased sheets). I bought 5 yards of an inexpensive muslin (2.47 a yard) but wished I had bought something thicker that wouldn’t wrinkle as much. Also pick up a spool of thread that matches your sheets.
Step Five
Take your diagram of your cushion covers and the material you
bought or the extra flat sheet and cut panels to sew by machine. I cut 2
panels that were 25×8 for the sides of the cushion and 1 panel that was
25×25 for the bottom and a panel that was 39×25 for the top and front
and back. (this saved me some cutting and stitching and left me with a
smoother line in the front) When I sewed the cushions together I left
the back flap open to slip the cushions inside. Because my cushions
slip under the back pillows on the couch I left them open permanently.
If they didn’t slip under the back pillows I would have hand stitched
them closed. I like having the ability to wash them though.
Step Six
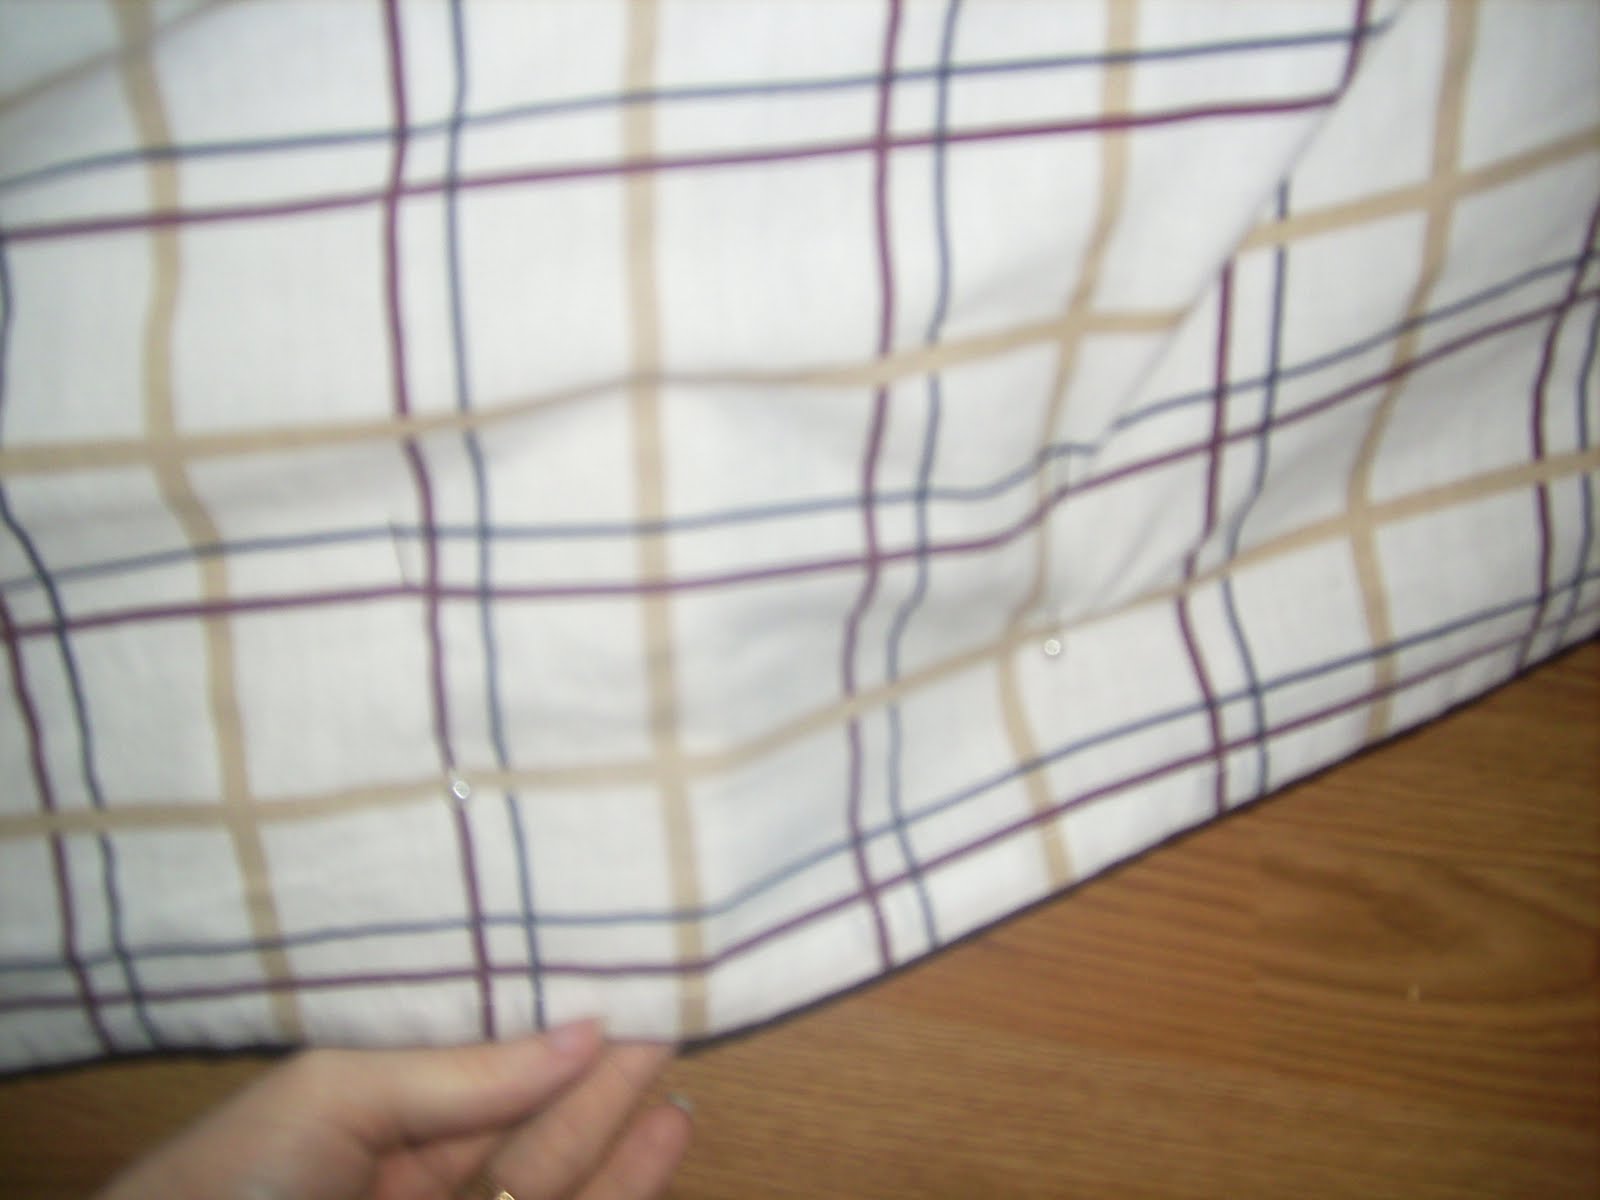
Line bottom edge of flat sheet up to bottom edge of the couch. Use big pins to secure it to the bottom edge.
Step Seven

Cut the sheet in half down the length of the couch, leaving several extra inches to tuck between the couch bottom and the couch back.
Step Eight
Tack (with thread) the top of the sheet to the back of the couch. I left mine about an inch below the top of the couch on the back side, as the couch will stay against the wall so the kids have lots of floor space to play. It helps to push down on the cushy parts of the couch to get the needle through some of the tighter places.
Step Nine
Fold the edges of the sheet around the tops of the sides of the couch and tuck under the cushiony part. I had help to hold these in place while lifting up on the side top so that I could put a few stitches here to secure it all.
Step Ten

Cut the sheet at the bottoms to cover the lower
flap only. Leave a bit of room to tuck in the couch grooves too.
Step Eleven
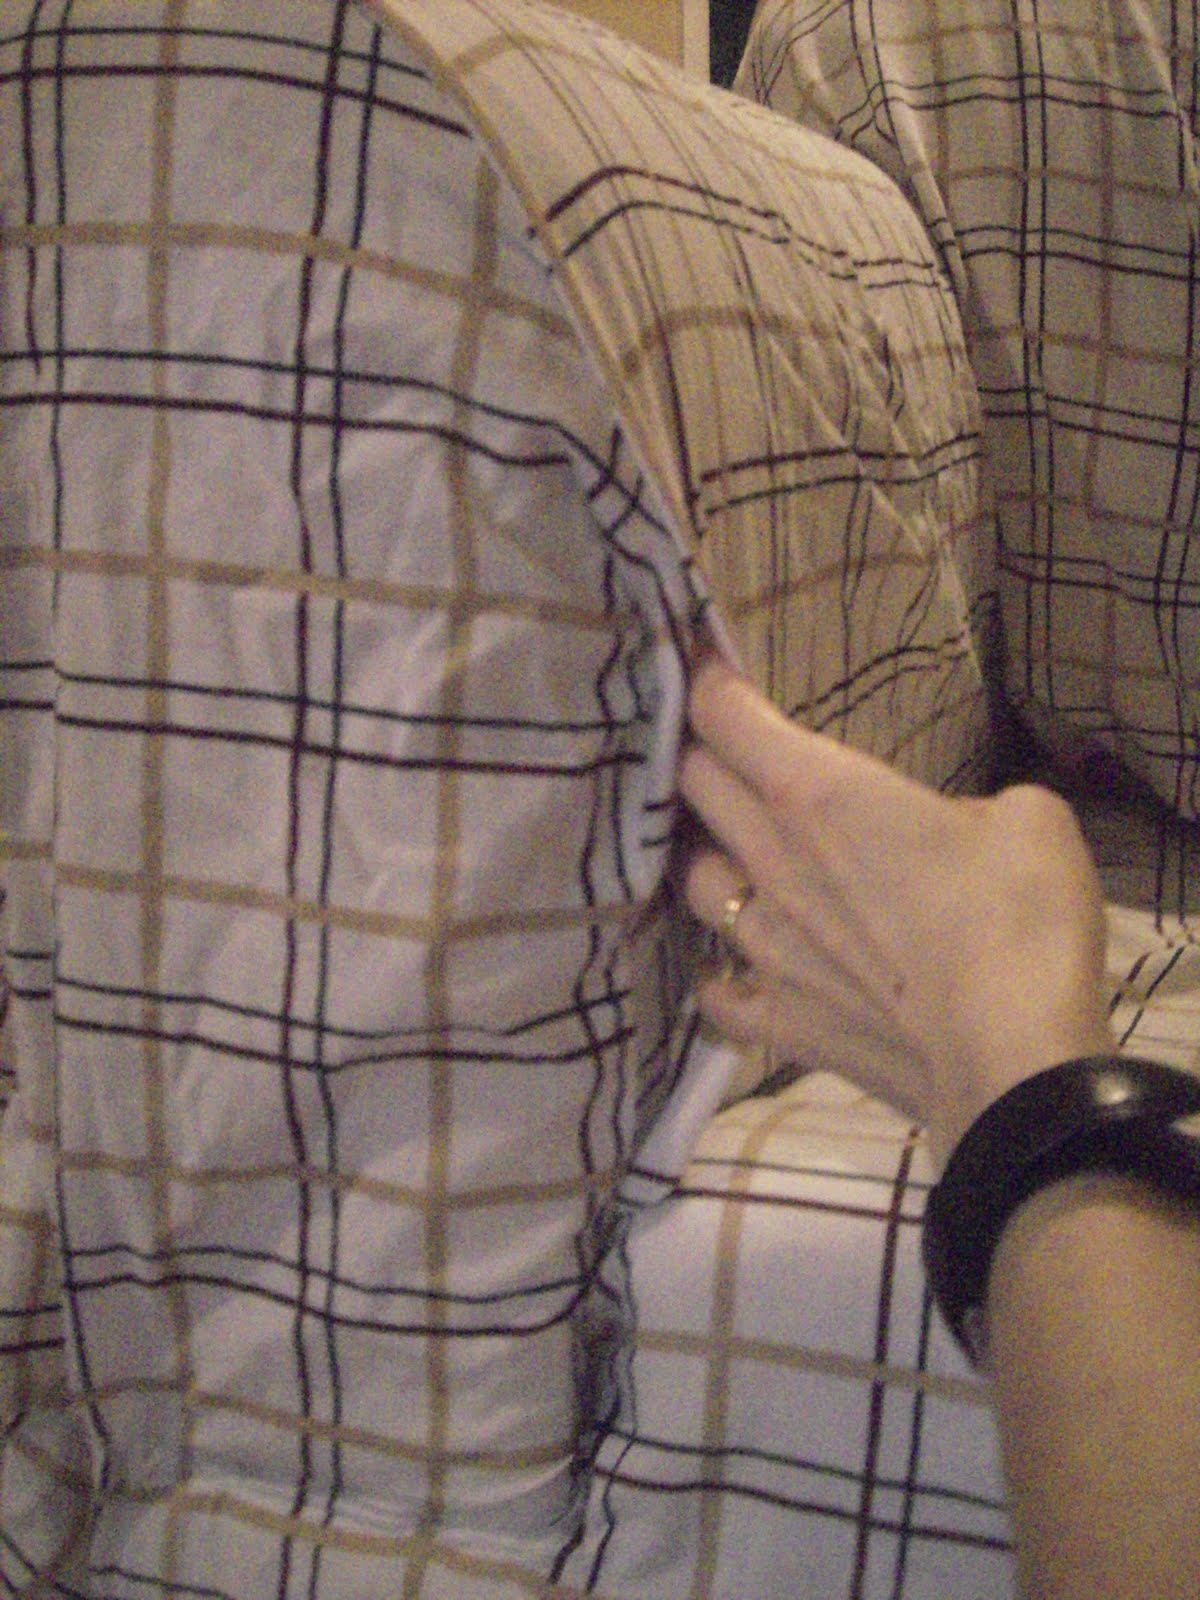
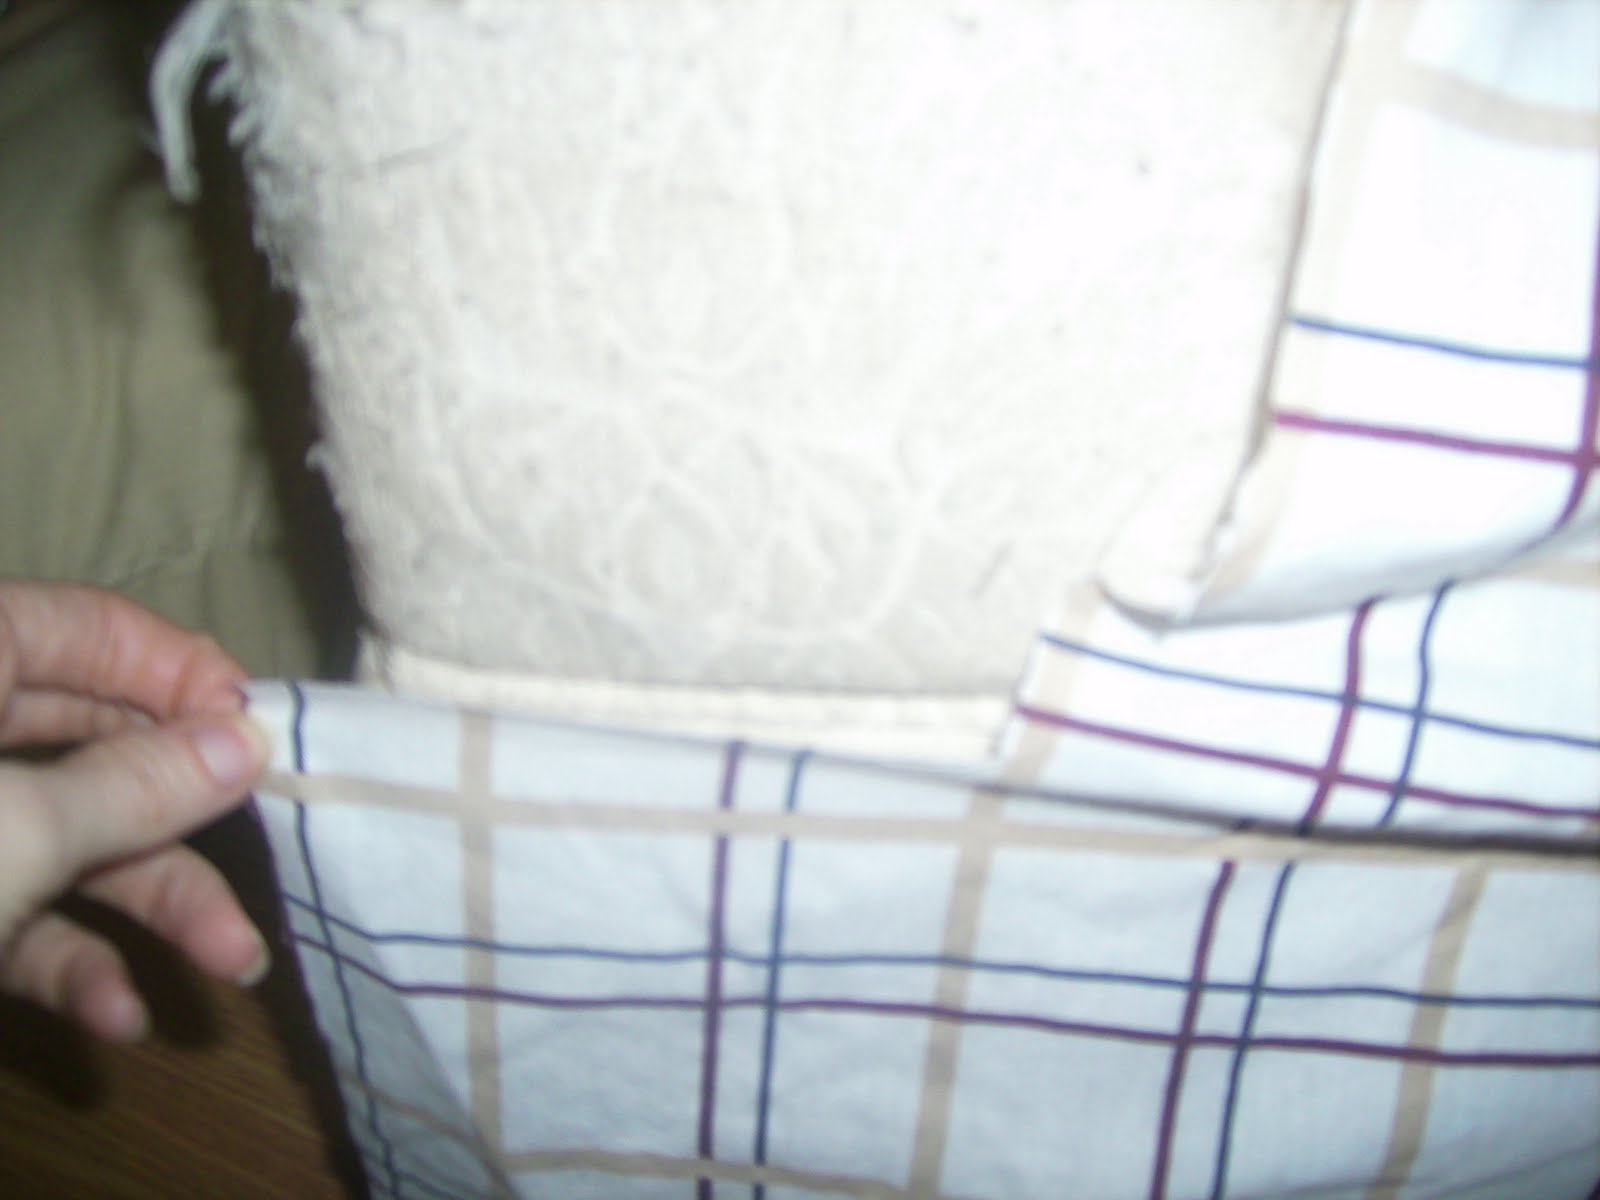
Lay the Fitted Sheet over one arm, using the seams on the sheet to fit around the edges of the arm. Line it up in front to barely overlap with the bottom panel you cut earlier. Pin the sheet in place, cut the elastic off, and tuck it down in the grooves of the couch. Fold and tuck the excess sheet to fit around the front edge nicely. Use pins to secure it. Stitch wherever you can.
Step Twelve
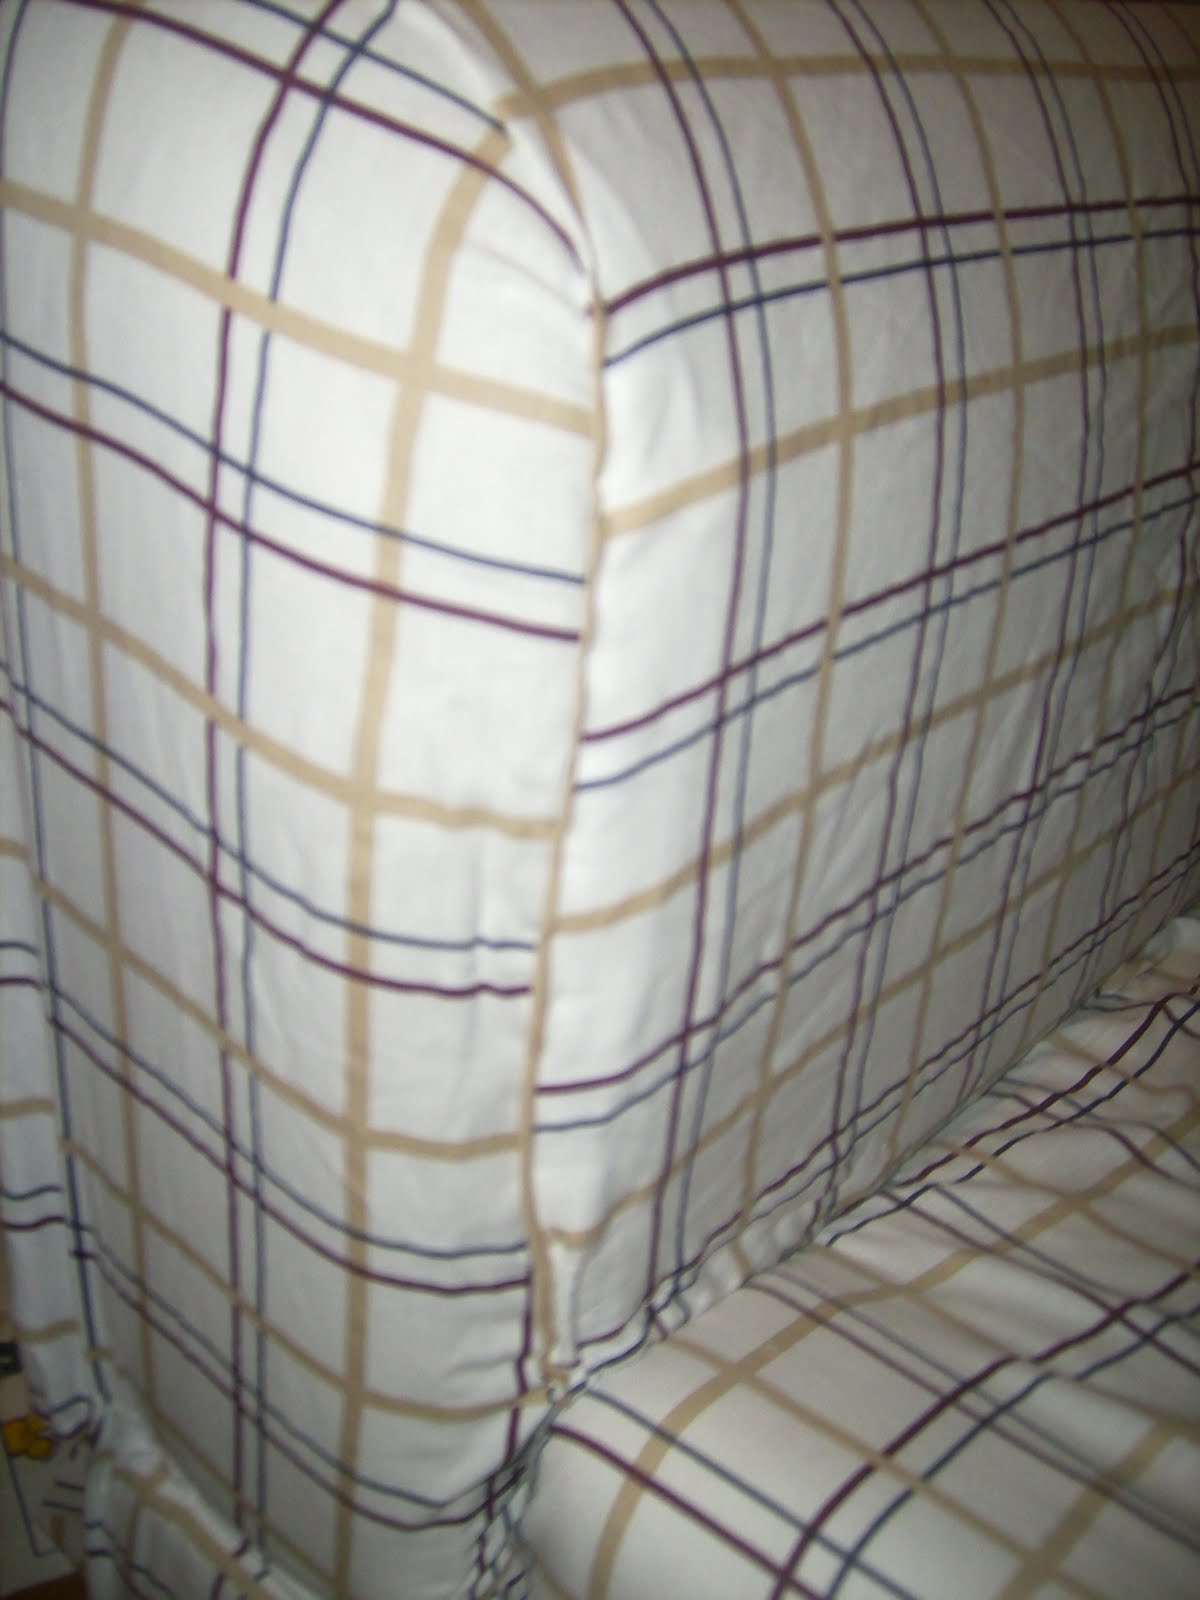
Fold and Tuck the material on the outside side (sounds silly huh?) of the couch. Then cut the excess so the side won’t be lumpy.
Step Thirteen
Fold and Tuck the sheet around outside of the arm again, securing with pins. Use hot glue to secure it under the top of the arm. Use hot glue to secure the sheet to the cording near the bottom, or tuck the material in the seam if you have a seam instead.
Step Fourteen
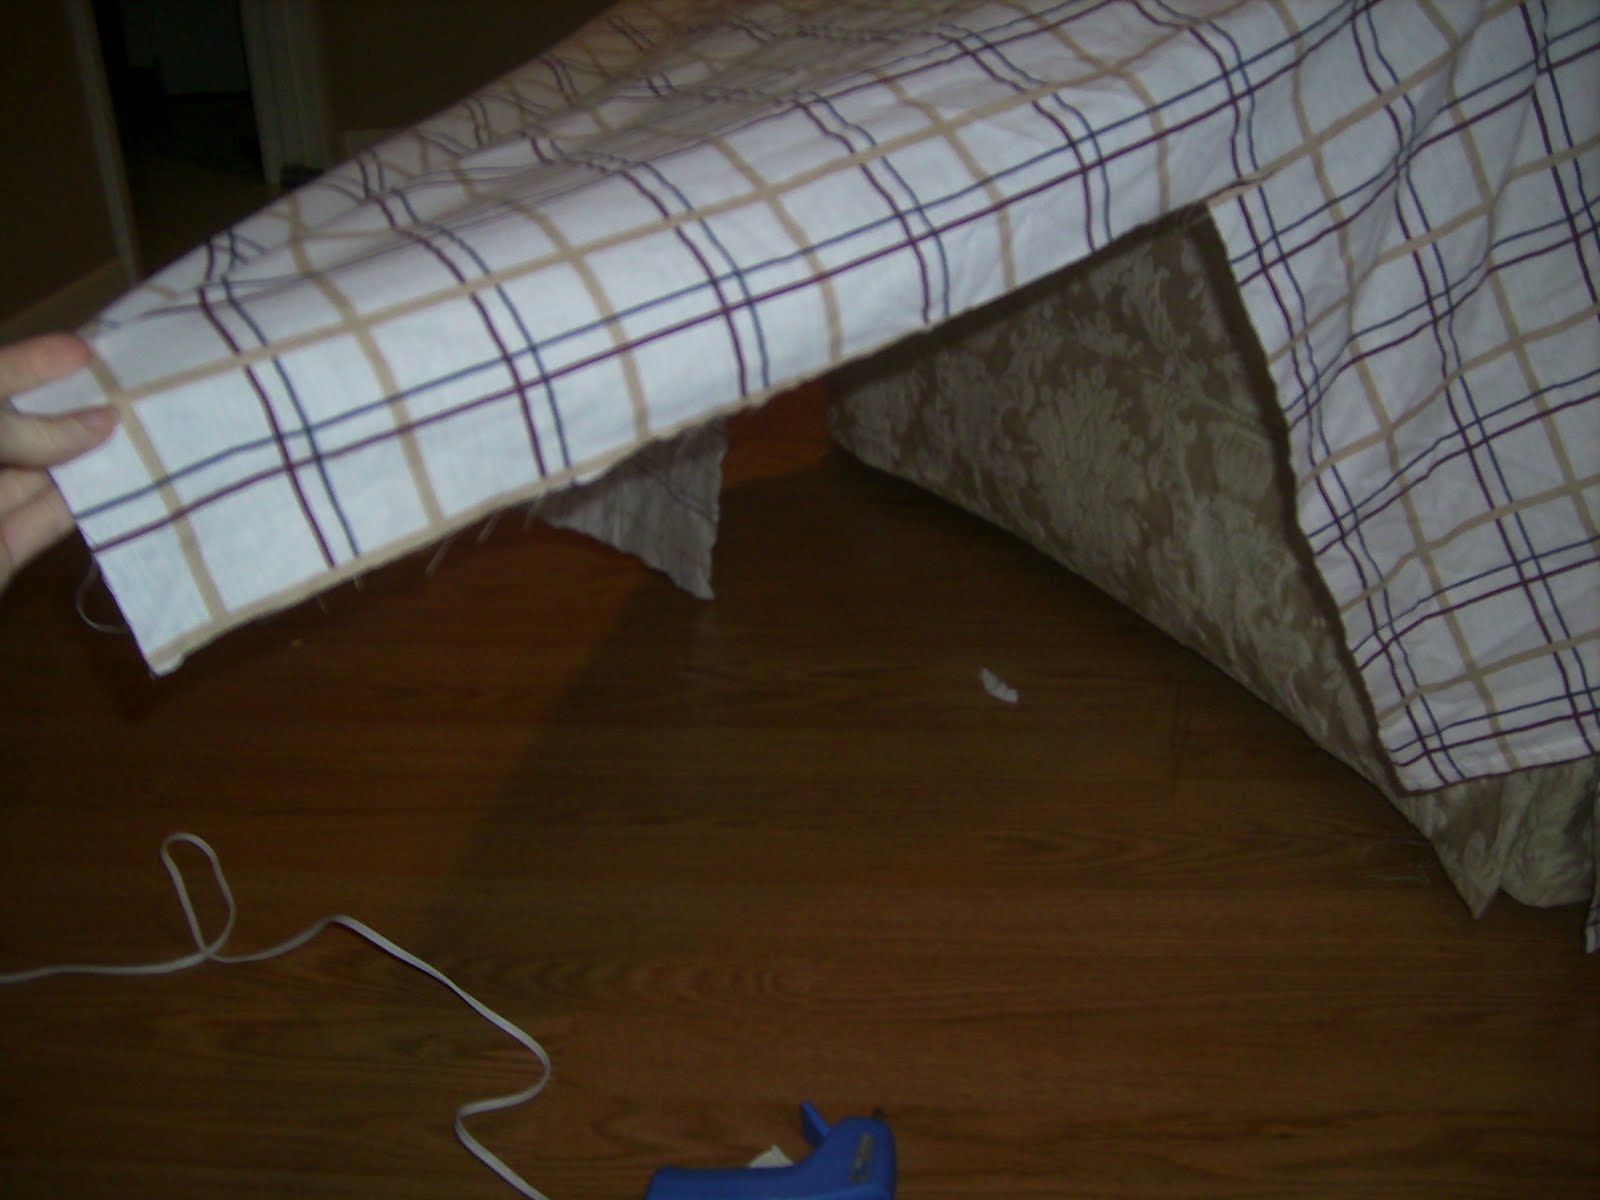
Stitch the front two pieces together and to the cording on the front edge of the couch-just the small area where the two panels meet. Use hot glue to secure even more
Step Fifteen

Pause for pictures with the kids who are a bit jealous of all the TLC their new couch is getting.
Step Sixteen
Repeat Steps 11-14 on the other side arm
Step Seventeen
Remove pins from the bottom flaps of the couch and secure with stitches every few inches. Add an extra panel under the flaps if your couch already has a panel there.
Step Eighteen
Enjoy your “new couch”
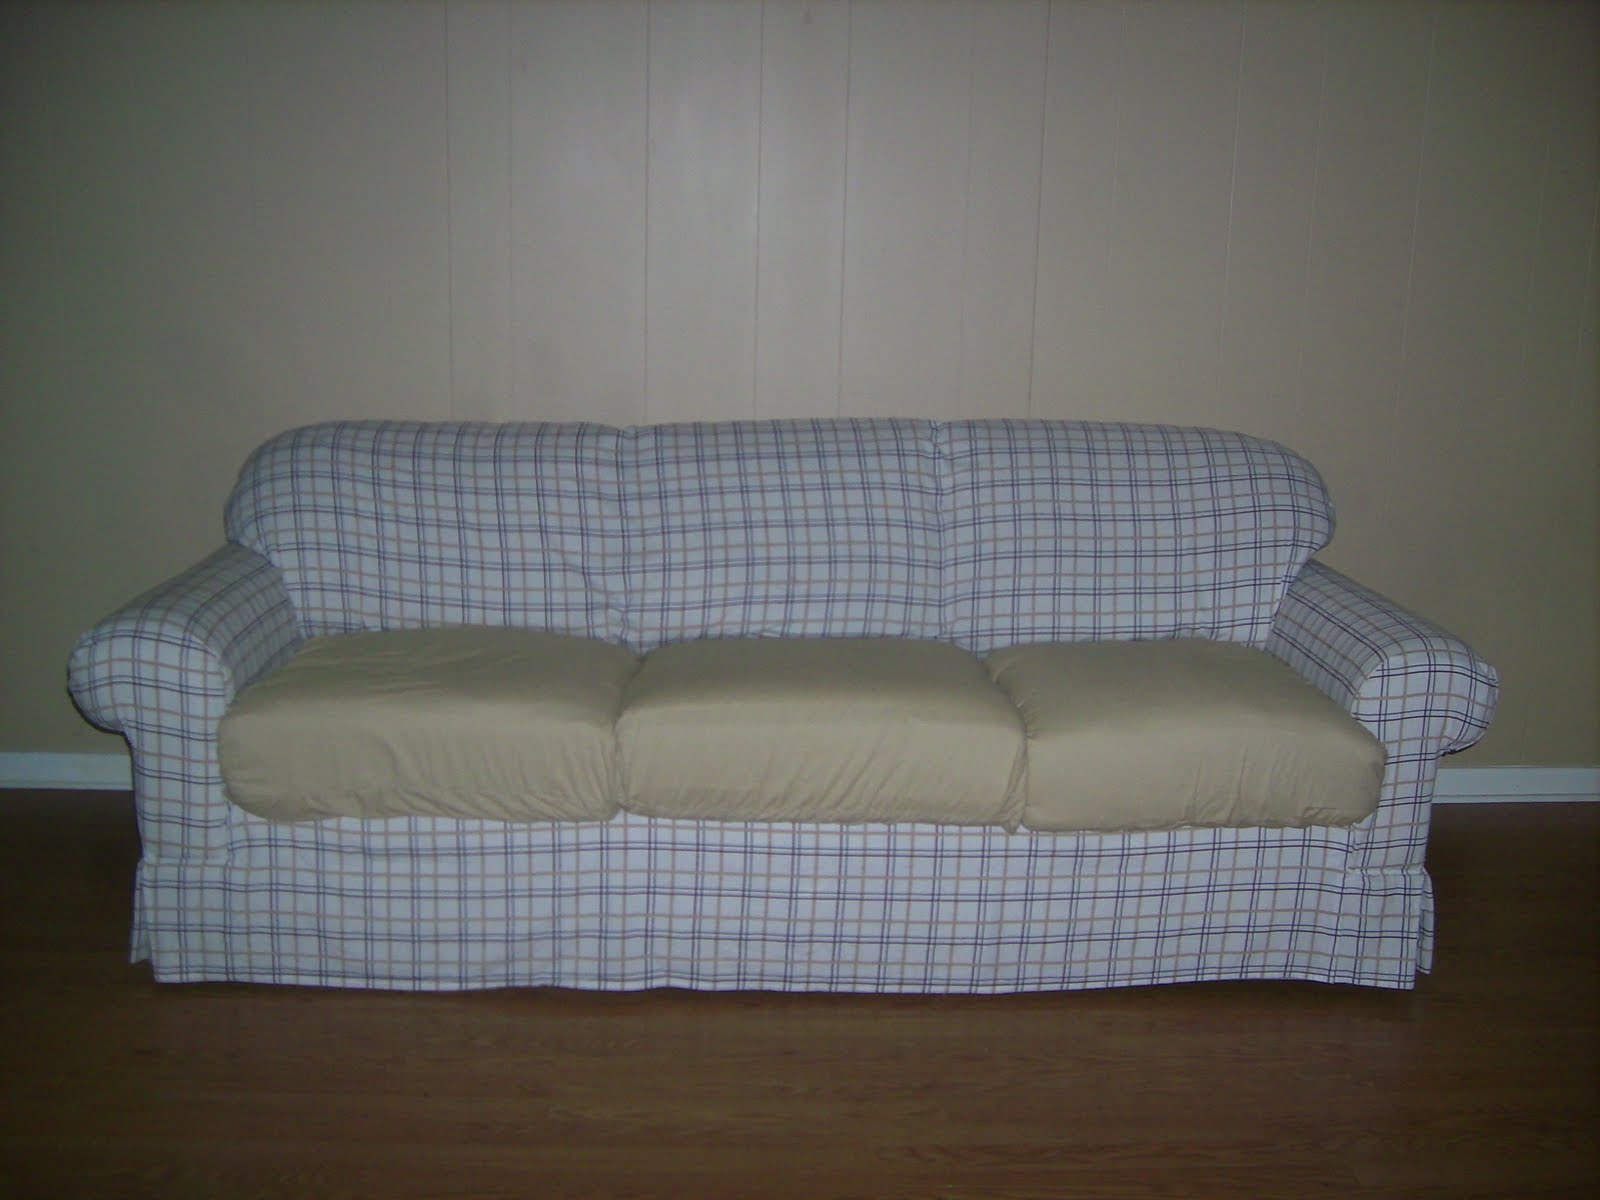 |
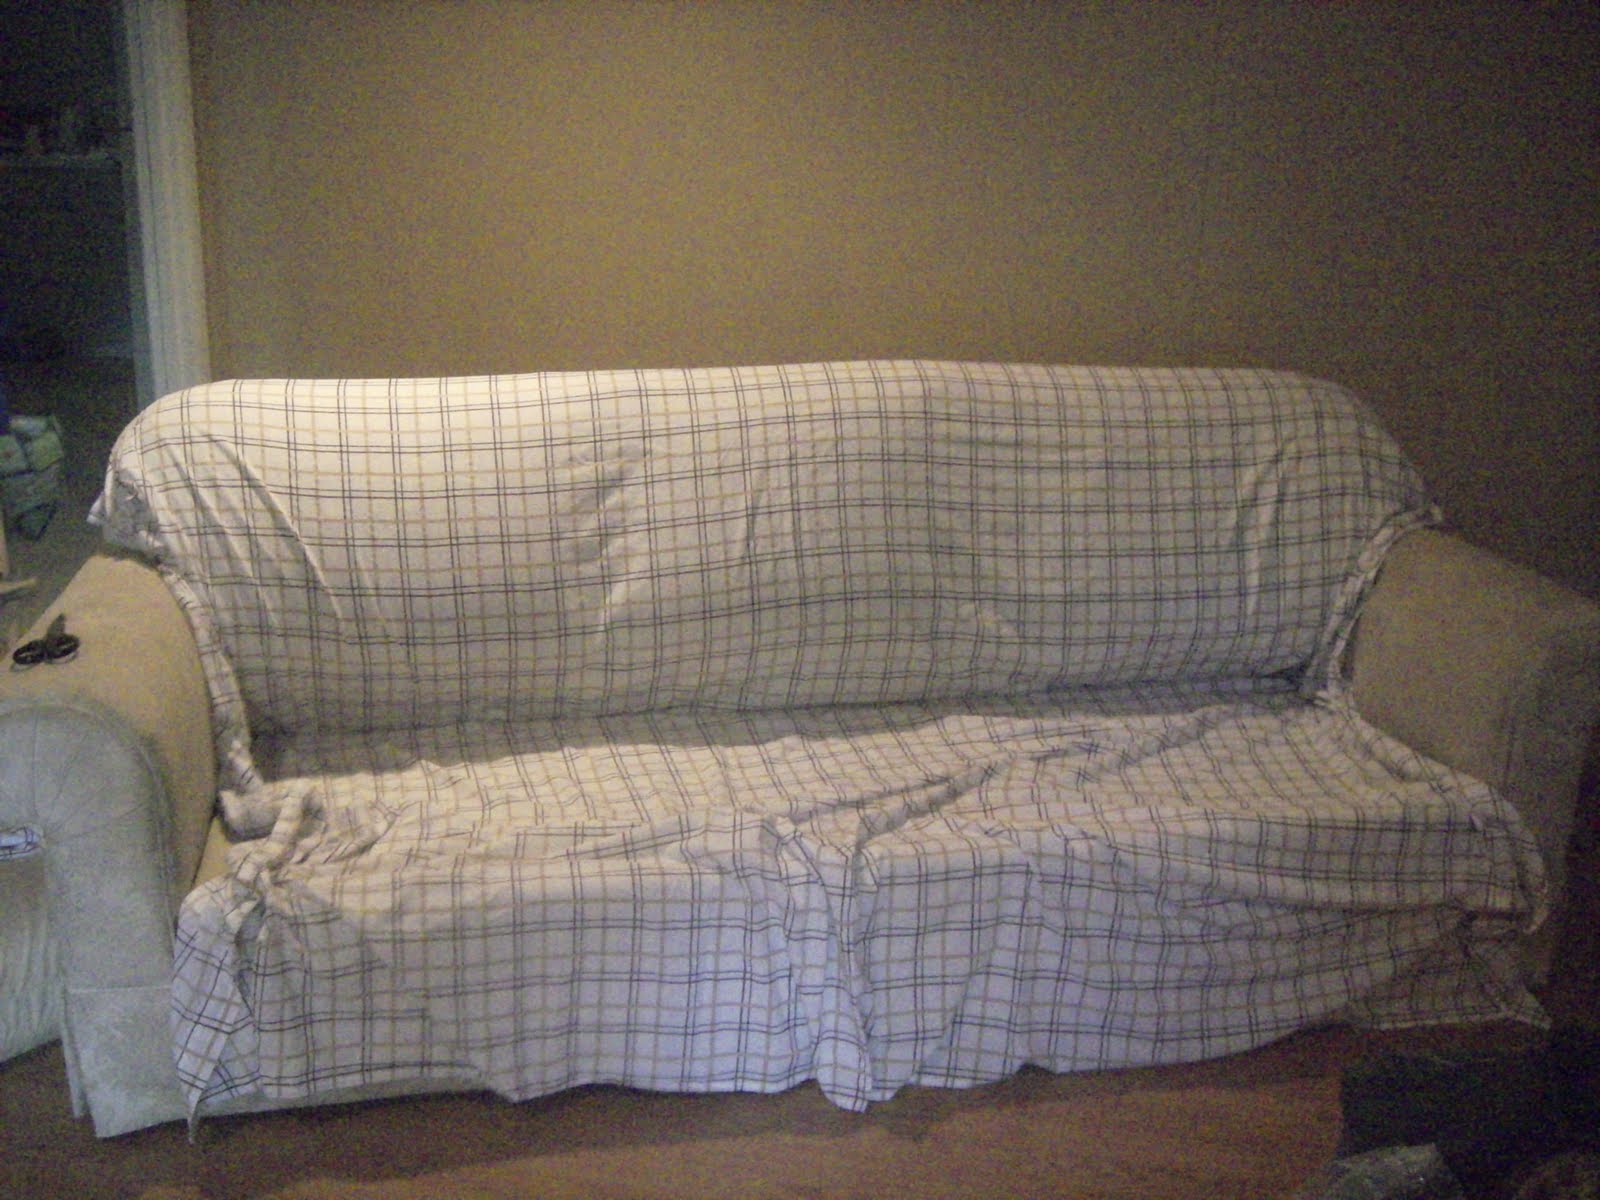
| The finished couch- Proof that you can cover a couch with a sheet set! |
It took me about 10 hours to get this completed. 2 if not 3 of those hours were struggling to line up all those plaid lines. I think someone can easily do this project in 8 hours if you don’t use a striped sheet set.
Trust me, this thing is not perfect by any means, but it will do. It’s very comfy and looks great in our room. Let’s face it- this is a family room which is meant for fun, not formality. Perfection isn’t a requirement for such a room.
Thank you very much “blessedkids” for blessing our family with this couch!
This post is part of Works for Me Wednesday over at We Are That Family.


Great job!
Looks Great!!!
Great job with the couch! What a thrifty find and project!
Thanks for linking to a Round Tuit!
Hope you have a great week!